How to Paint Cabinets: A Complete DIY Guide for a Pro Finish

How to Paint Cabinets: A Complete DIY Guide for a Pro Finish
Painting your cabinets is one of the most cost-effective ways to transform a kitchen without spending tens of thousands on a full renovation. A fresh coat of paint on cabinetry can lighten and brighten the entire space, giving your kitchen an entirely new feel for a fraction of the cost of replacement cabinets. Whether you're tackling oak cabinets that have seen better days or want to update builder-grade thermofoil doors, the difference between a finish that lasts a decade and one that peels within a year comes down to technique, products, and patience. This guide walks you through every step of the cabinet painting process, from prep work through that final coat, so you can achieve results that look like a professional did the job even if it's your first time.
Why Paint Your Cabinets?
The math is pretty compelling when you stack cabinet painting against a full kitchen remodel. Professional cabinet painting typically costs between $3,000 and $9,000 for a full kitchen, while a complete cabinet replacement can run $10,000 to $25,000 or more depending on materials and layout. If you go the DIY route, materials typically cost between $200 and $600 for an average kitchen a fraction of what professionals charge. According to 2 Cabinet Girls, a decade-old cabinet painting company, the right paint and proper preparation can yield results that last 10-15 years, making this one of the highest-ROI projects a homeowner can tackle. Beyond the financial angle, painting cabinets lets you customize colors to match evolving tastes, cover water damage or wear, and update a dated kitchen without the disruption of a major renovation.
Types of Cabinet Paint: Finding the Right Product
Not every paint is built for the daily grind of kitchen life, and choosing the right product is where many DIYers go wrong. Standard wall paint even premium interior latex simply isn't engineered for the moisture, grease, and constant handling that kitchen cabinets endure. The best paints for cabinets are formulated to bond tightly to surfaces, resist chipping and scuffing, and clean up easily without breaking down.
The top choice among professional cabinet painters is waterborne alkyd enamel, which combines the easy cleanup of latex with the durability and smooth finish of oil-based paints. Benjamin Moore Advance and Sherwin-Williams Emerald Urethane Trim Enamel are consistently recommended by pros and tested extensively by DIY bloggers. These paints level out as they dry, leaving fewer brush and roller marks for that factory-smooth look.
Acrylic latex paints are more user-friendly for beginners they clean up with water, have low odor, and dry faster than alkyd blends. However, they may not hold up as well in high-traffic kitchens over the long haul. Hybrid cabinet paints, a newer category, combine waterborne and alkyd technologies for easier application with strong durability. For a detailed comparison of paint types and their characteristics, see the table below:
If you're using a paint sprayer, you'll get the smoothest results. If you're brushing and rolling, a quality angled brush and a short-nap roller (3/8 inch or less) will help you avoid texture. Either way, don't cheap out on the paint the difference between a $30 gallon and a $60 gallon shows up in the finish and longevity.
Step-by-Step: How to Paint Your Cabinets
- Remove all doors, drawers, and hardware. This is non-negotiable if you want a professional result. Paint drips on hinges, and painting around knobs is a recipe for a sloppy finish. Use a marker or tape to label each door and its corresponding location so you can reinstall everything in the right spot.
- Clean every surface thoroughly. Kitchen cabinets accumulate grease and cooking residue over years. Use a degreaser or a solution of warm water and dish soap, followed by a clean water rinse. Let everything dry completely paint won't adhere to a greasy or damp surface.
- Fill holes and repair damage. Use a quality wood filler or spackle to fill any dings, dents, or old hardware holes. Let it dry fully, then sand smooth. This step is what separates a amateur job from a professional-looking one.
- Sand the surfaces. scuff-sand all cabinet faces with 120-150 grit sandpaper to create a texture the primer can grip. You don't need to strip the old finish you just need to rough it up enough for adhesion. Wipe away all sanding dust with a tack cloth or damp rag.
- Apply primer. A bonding primer like Zinsser BIN or Sherwin-Williams Extreme Bond Primer helps the paint stick, especially on slick surfaces like thermofoil or previously painted cabinets. Let the primer dry for at least 24 hours, then lightly sand with 220-grit to smooth any roughness.
- Paint the first coat. Load your brush or roller and apply thin, even coats. Thick coats drip, sag, and take forever to dry. Work in sections, maintaining a wet edge to avoid lap marks. For best results, use a paint additive like Floetrol to extend open time and reduce brush marks.
- Let it dry and lightly sand between coats. This is where patience pays off. Let each coat dry for at least 24 hours faster drying can trap solvents and cause adhesion problems. Lightly sand with 220-grit between coats to knock down any nibs or roughness.
- Apply the second coat. Most cabinets need two to three coats for full coverage and a durable finish. The final coat is what you'll see every day, so take your time with it.
- Reassemble. Once the final coat has cured for at least 48 hours (longer is better alkyd paints can take 2-3 weeks to fully cure), rehang the doors and reinstall the hardware. Don't rush this or you'll leave marks in the paint.
Tools and Materials You'll Need
Having the right tools on hand before you start will save you from mid-project trips to the hardware store. Here's what you'll need to paint an average kitchen of 10-15 cabinet doors and drawer fronts:
A quality angled sash brush (2-2.5 inch) is essential for cutting in edges and detail work don't grab the cheapest brush you can find, as you'll see every bristle mark in the finish. A short-nap roller (3/8 inch nap) works well for larger flat surfaces. You'll also need 120-150 grit sandpaper for initial prep, 220-grit for between coats, a sanding block, painter's tape, a Tack cloth or microfiber rags for dust removal, a degreaser like Krud Kutter or TSP substitute, a quality primer (bonding primer recommended), and your chosen cabinet paint. Drop cloths, a paint tray, and stirring sticks round out the basics. If you're painting cabinet boxes in place, you'll also need tape and paper to protect countertops and appliances.
Common Mistakes to Avoid
The biggest mistakes in cabinet painting happen before the first coat of paint goes on. Skipping the cleaning step is the most common grease on cabinets creates a barrier that prevents paint from bonding, and you'll see peeling and chipping within months. Not sanding or using the wrong grit is another frequent error; too-light sanding doesn't create enough grip, while over-sanding can damage the underlying material.
Using the wrong paint is almost as bad as skipping prep. Standard wall paint or cheap latex simply can't hold up to the handling and cleaning that kitchen cabinets endure. Dennis Fiorilli, director of product excellence at Sherwin-Williams, notes that the key to a lasting cabinet paint job is using products specifically formulated for cabinetry rather than general-purpose interior paints. Not letting coats dry long enough between applications is a patience killer that leads to poor adhesion and a tacky feel. Finally, painting without proper ventilation and cure time will leave you with a finish that never fully hardens, making it vulnerable to scuffs and marks.
Spray vs. Brush and Roller: Which Is Better?
The application method you choose significantly affects the final look. Paint sprayers produce the smoothest, most factory-like finish with zero brush or roller texture. However, they require more setup (masking off surrounding areas), more cleanup, and a learning curve. If you already own a sprayer or are willing to invest in one, the results are worth it for visible surfaces like cabinet doors.
Brush and roller application is more accessible for most DIYers and requires far less setup. The trade-off is that achieving a spray-quality finish takes technique using the right brush, loading paint properly, and maintaining a wet edge to avoid lap marks. Many professional cabinet painters actually brush and roll, but they use specific methods (like adding Floetrol to extend open time) that aren't common knowledge. For most first-time cabinet painters, brush and roller is the practical choice just be realistic about the level of finish you can achieve without practice.
How Long Does It Take?
For an average kitchen with 10-15 cabinet doors and drawer fronts, plan for a full weekend (two to three days) of active work, plus waiting time between coats. The actual painting takes maybe 4-6 hours per coat, but the drying time between coats is what stretches the project out. If you can only paint on weekends, expect the project to take two weekends with drying time in between. Rushing the dry time between coats is one of the most common ways DIYers sabotage their results the paint might look dry on the surface but still be curing underneath, leading to poor adhesion when you stack coats.
FAQs
Do I need to sand my cabinets before painting?
Yes, scuff-sanding is essential for most cabinets to help the primer and paint adhere. Use 120-150 grit sandpaper to rough up the surface without stripping it completely. An exception is when using a dedicated bonding primer, which can adhere to clean, previously painted surfaces without sanding but sanding still produces better results.
Can I paint over laminate or thermofoil cabinets?
You can, but it's tricky. Laminate and thermofoil are slick surfaces that don't accept paint as readily as wood. You'll need a bonding primer specifically designed for slick surfaces, and proper prep is even more critical. Some professional painters recommend avoiding painting thermofoil altogether because it can peel; others have success with the right products. Test a small, hidden area first.
What color should I paint my cabinets?
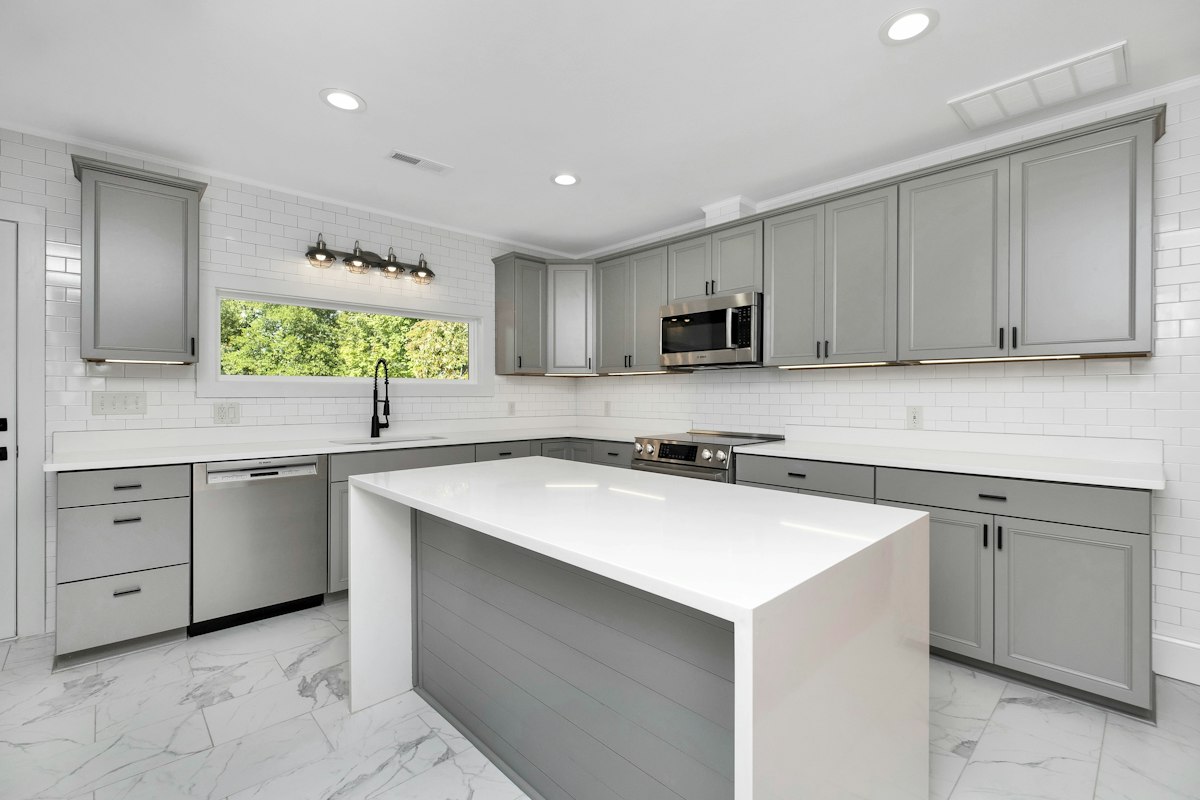
White and light gray remain the most popular choices because they brighten kitchens and pair well with most hardware finishes. But bold colors like navy, forest green, and even black are increasingly popular for adding personality. If you're selling soon, neutral whites and soft grays have the broadest appeal they also hide wear and touch-ups better than dark colors.
How long will the paint job last?
With proper prep and quality paint, expect 10-15 years before you need to repaint. The keys to longevity are thorough cleaning and degreasing before painting, using the right primer, applying thin coats rather than thick ones, and allowing adequate cure time before reinstalling doors and using the cabinets normally.
Should I hire a professional or do it myself?
If your budget allows and you want guaranteed results with minimal time investment, professional cabinet painters deliver excellent work. The national average for professional cabinet painting runs between $2,000 and $7,000 depending on kitchen size and location. If you enjoy DIY projects and want to save money, the DIY route is very achievable just be honest about your patience level and skill with finishing work.
Can I use cabinet paint on bathroom cabinets?
Yes, the same principles apply. Bathrooms have less grease but more humidity, so adequate cure time and ventilation matter even more. Use the same quality paints and preparation process you'd use for kitchen cabinets.
Key Takeaways
- Waterborne alkyd enamel paints like Benjamin Moore Advance or Sherwin-Williams Emerald Urethane deliver the best balance of durability and finish quality for kitchen cabinets.
- Proper prep cleaning, sanding, and priming matters more than the paint itself; skipping these steps is the most common cause of paint failure.
- Apply thin coats rather than thick ones, and let each coat dry for at least 24 hours before lightly sanding and applying the next coat.
- Plan for the project to take a full weekend of active work plus drying time between coats; rushing the cure time compromises the finish.
- DIY cabinet painting costs $200-600 in materials versus $3,000-9,000 for professional work but the difference shows in the prep and technique you bring to the job.
- Label every door and drawer before removing them so you can reinstall everything in the correct position without gaps or misalignment.
- Allow the final coat to cure for 48-72 hours before reattaching hardware and using the cabinets normally to avoid permanent marks in the paint.